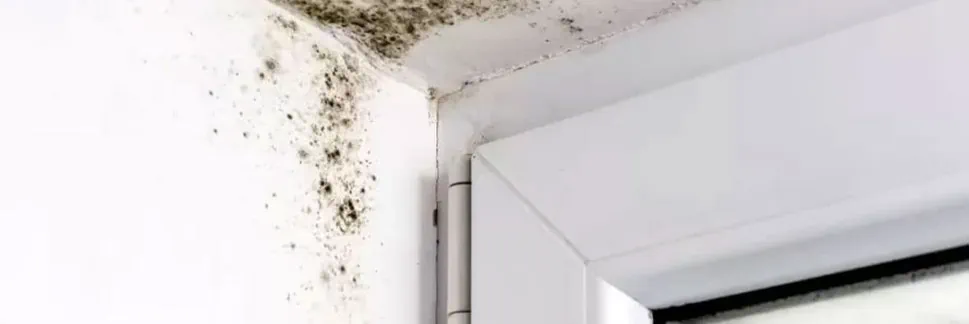
Water damage can lead to a multitude of problems in your home, with mold growth being one of the most concerning. Mold thrives in damp environments, making post-water damage inspections crucial for maintaining a safe and healthy living space. At GTArestoration.ca, we’re here to provide you with a comprehensive, step-by-step approach to inspecting for mold after water damage.
Why Mold Inspection is Essential
Exposure to mold can lead to respiratory issues, allergic reactions, and other health complications, especially for individuals with pre-existing conditions. By conducting a thorough inspection after water damage, you can identify and address mold growth early, preventing further complications.
Step 1: Assess the Extent of Water Damage
Before you begin your mold inspection, it’s essential to assess the extent of the water damage. This step will help you understand where to focus your inspection efforts.
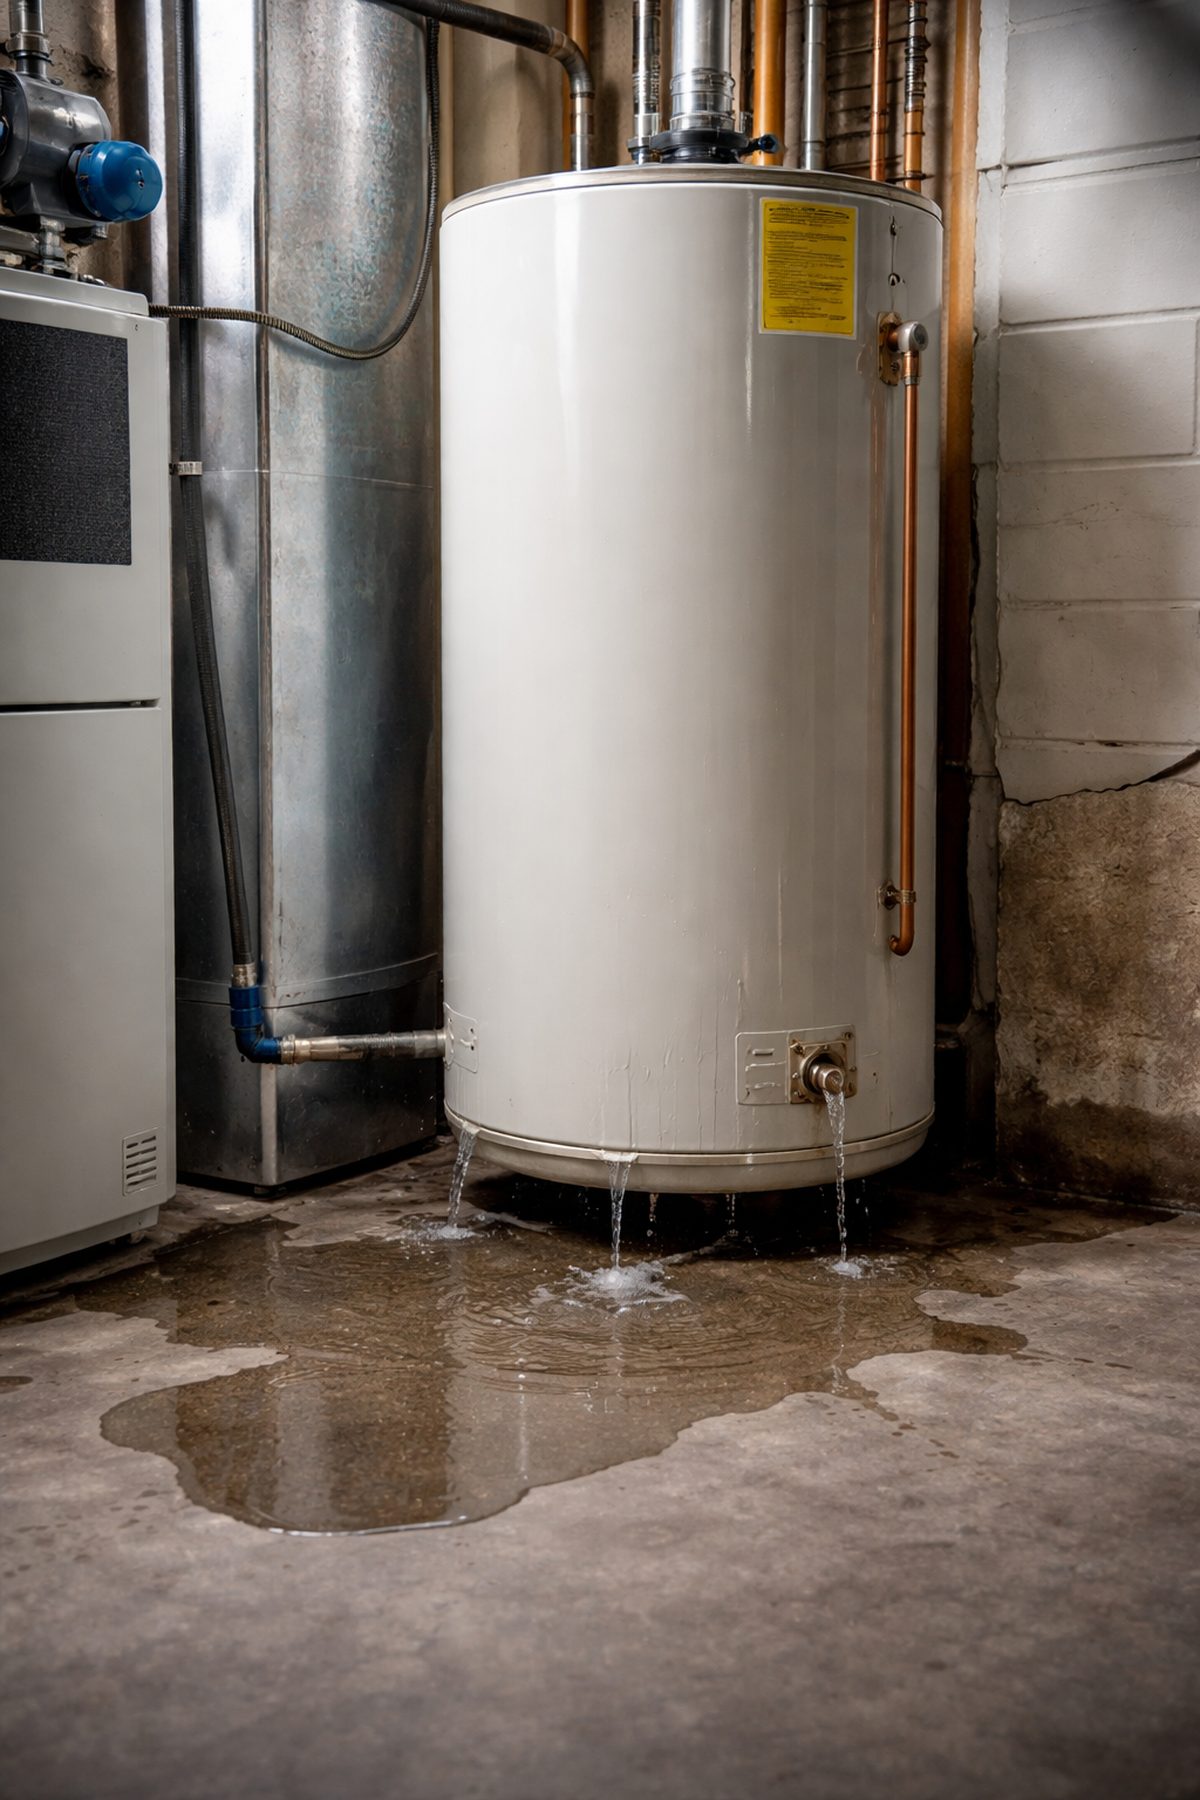
- Identify the Source: Determine where the water intrusion originated—whether from a leaky roof, broken pipe, or flooding. This will guide your inspection.
- Check Affected Areas: Inspect walls, ceilings, floors, and any items that may have absorbed water, such as carpets and furniture. Note the severity of the damage, including discoloration or warping.
Step 2: Gather Necessary Tools
Having the right tools at hand will make your inspection more efficient. Here are some items you may need:
- Flashlight: To illuminate dark areas and spot hidden mold.
- Moisture Meter: To measure moisture levels in various materials.
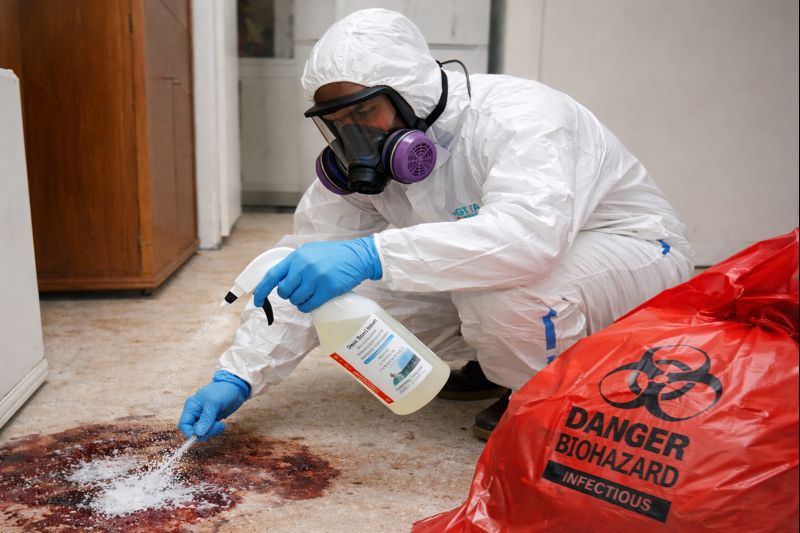
- Protective Gear: Wear gloves, goggles, and a mask to protect yourself from potential mold spores.
- Camera: To document areas of concern for future reference or when filing insurance claims.
Step 3: Visual Inspection
Conduct a thorough visual inspection of all areas affected by water damage. Mold can appear in various forms and colors, so it’s essential to know what to look for.
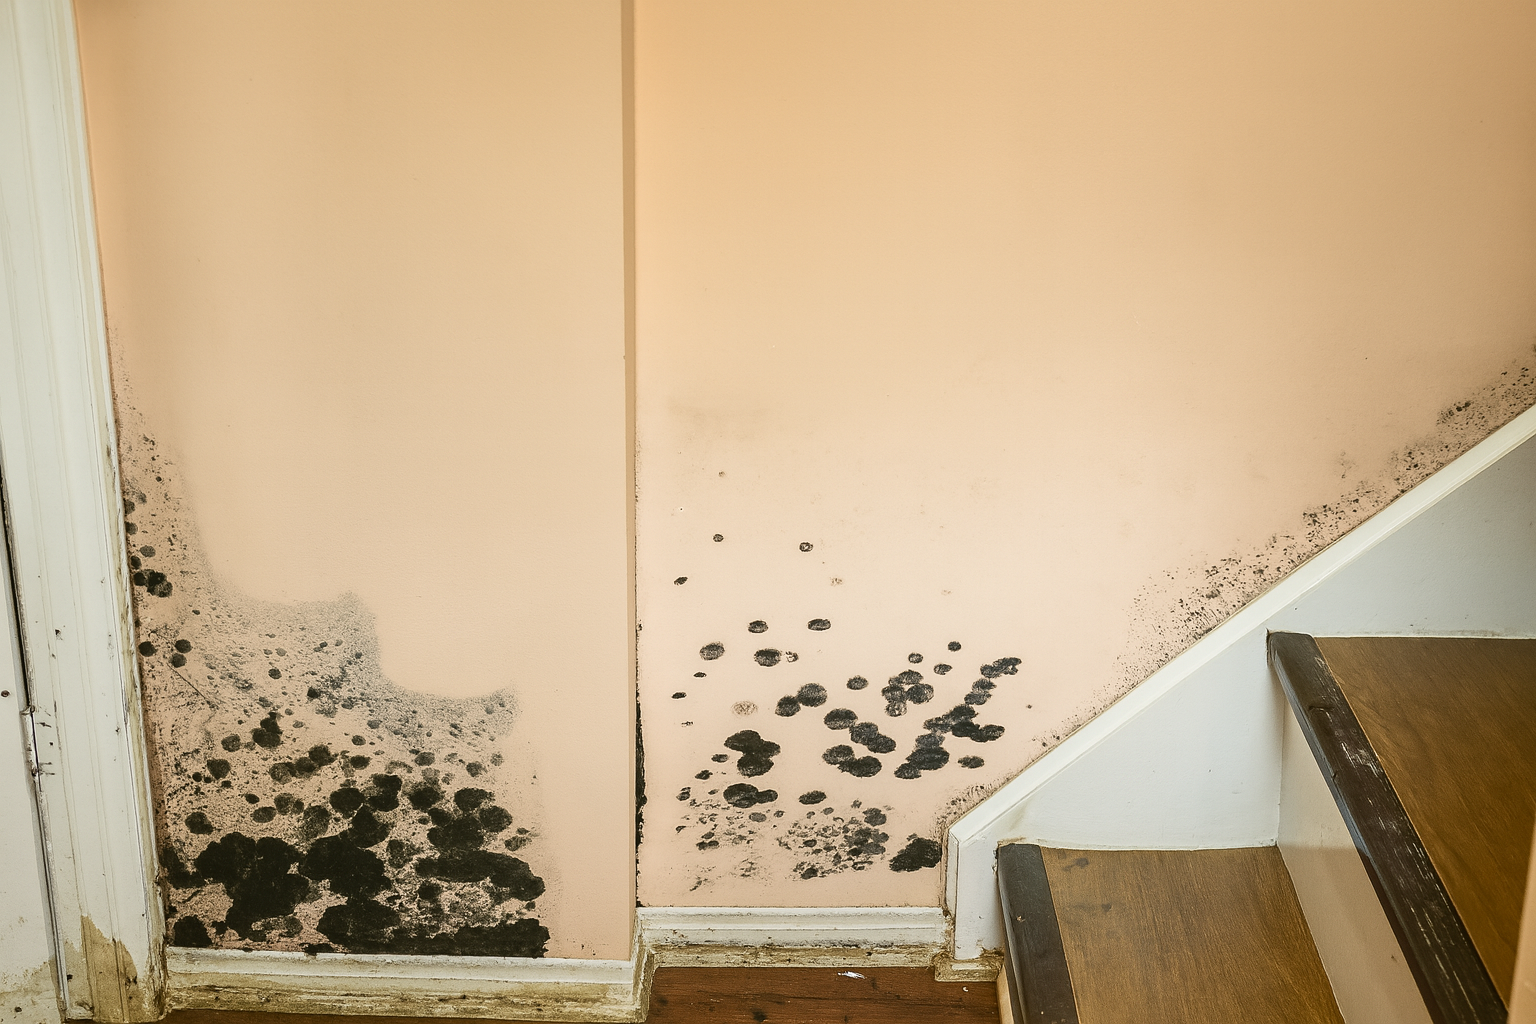
- Look for Visible Mold: Check for black, green, white, or orange patches on walls, ceilings, and floors. Mold often appears fuzzy or slimy, depending on its type.
- Inspect Hidden Areas: Don’t forget to look in hidden areas where mold may thrive, such as behind furniture, under carpets, inside walls, and in HVAC systems.
- Check for Water Stains: Look for water stains, discoloration, or peeling paint, which can indicate past or ongoing moisture issues.
Step 4: Use a Moisture Meter
A moisture meter is an invaluable tool for detecting hidden moisture that may not be visible to the naked eye. Here’s how to use it effectively:
- Test Various Surfaces: Measure moisture levels in walls, ceilings, and floors. A reading above 15% indicates potential mold growth risk.
- Focus on Suspected Areas: Pay particular attention to areas that feel damp or have a musty odor.
Step 5: Check for Odors
Mold often produces a musty, earthy smell, which can be a clear indicator of its presence. During your inspection:
- Identify Sources of Odor: Walk through the affected areas and take note of any unusual smells.
- Consider Using a Sniffer: If you’re unsure about detecting odors, a mold sniffer can help locate hidden sources of mold by detecting volatile organic compounds (VOCs) produced by mold.
Step 6: Inspect HVAC Systems
Your heating, ventilation, and air conditioning (HVAC) system can spread mold spores throughout your home. To inspect your HVAC system:
- Check Air Ducts: Look for signs of mold growth in air ducts, as well as dust and debris that can harbor mold spores.
- Inspect Filters: Replace any dirty filters and check for mold growth around the filter area. This can be a breeding ground for spores.
Step 7: Take Samples if Necessary
If you suspect mold but can’t see it, or if you want to identify the specific type of mold, consider taking samples. Here’s how:
- Collect Surface Samples: Use a swab or tape to collect samples from suspected moldy areas.
- Air Sampling: Use an air sampling kit to capture spores in the air. This can provide insight into the mold levels in your home.
- Send for Testing: Send samples to a professional laboratory for analysis, especially if you’re dealing with significant mold growth or if you’re concerned about health risks.
Step 8: Document Your Findings
As you inspect for mold, document everything you find. Take photographs of visible mold, affected areas, and any water damage. This documentation will be invaluable for:
- Insurance Claims: If you plan to file a claim for water damage and mold remediation, your documentation will serve as evidence.
- Future Reference: Keeping records of mold inspections can help you monitor recurring issues over time.
Step 9: Determine the Next Steps
Based on your inspection findings, determine the appropriate next steps:
- DIY vs. Professional Help: If you find minor mold growth (less than 10 square feet), you may be able to handle it yourself using proper cleaning solutions. However, for larger infestations or hidden mold, consider hiring a professional mold remediation service.
- Remediation Plan: If mold is present, develop a remediation plan that includes removing contaminated materials, cleaning surfaces, and addressing the moisture source.
Step 10: Prevent Future Mold Growth
After addressing any existing mold issues, take steps to prevent future growth:
- Control Moisture: Keep humidity levels below 50% using dehumidifiers and ensuring proper ventilation in bathrooms and kitchens.
- Regular Inspections: Periodically inspect your home for signs of moisture or mold, especially after heavy rainfall or snowmelt.
- Address Water Issues Promptly: If you notice leaks or water intrusion, take immediate action to address them before they lead to mold growth.
Conclusion
Inspecting for mold after water damage is a critical step in protecting your home and health. By following this step-by-step approach, you can effectively identify mold issues and take action to remediate them. If you find significant mold growth or are unsure how to proceed, don’t hesitate to reach out to the professionals at GTArestoration.ca. We’re here to help you restore your home to a safe, healthy condition. Stay proactive and protect your living environment!