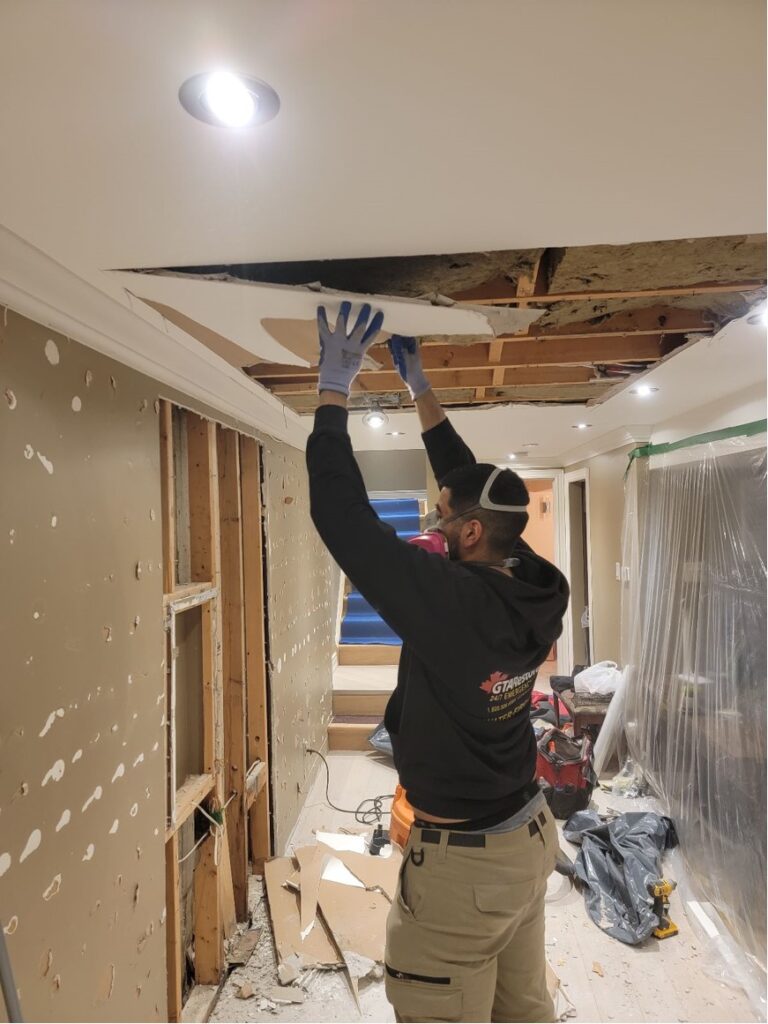
Water damage on your drywall ceiling can be a homeowner’s nightmare. Whether it’s from a leaky roof, burst pipe, or condensation, the sight of sagging or discolored drywall can be overwhelming. But don’t worry—repairing drywall ceiling water damage doesn’t have to be complicated. In fact, with the right tools and a little patience, you can fix the issue yourself. This step-by-step beginner’s guide, brought to you by GTARestoration.ca, will teach you how to tackle the problem of fixing ceiling drywall water damage—especially if you’re located in Toronto, Mississauga, Oakville, or Aurora.
What Causes Drywall Ceiling Water Damage?
Before diving into the repair process, let’s briefly understand what causes water damage to drywall ceilings. Common culprits include:
- Leaking Roofs: A cracked roof, damaged shingles, or improper roofing installation can allow water to seep through and damage your ceiling.
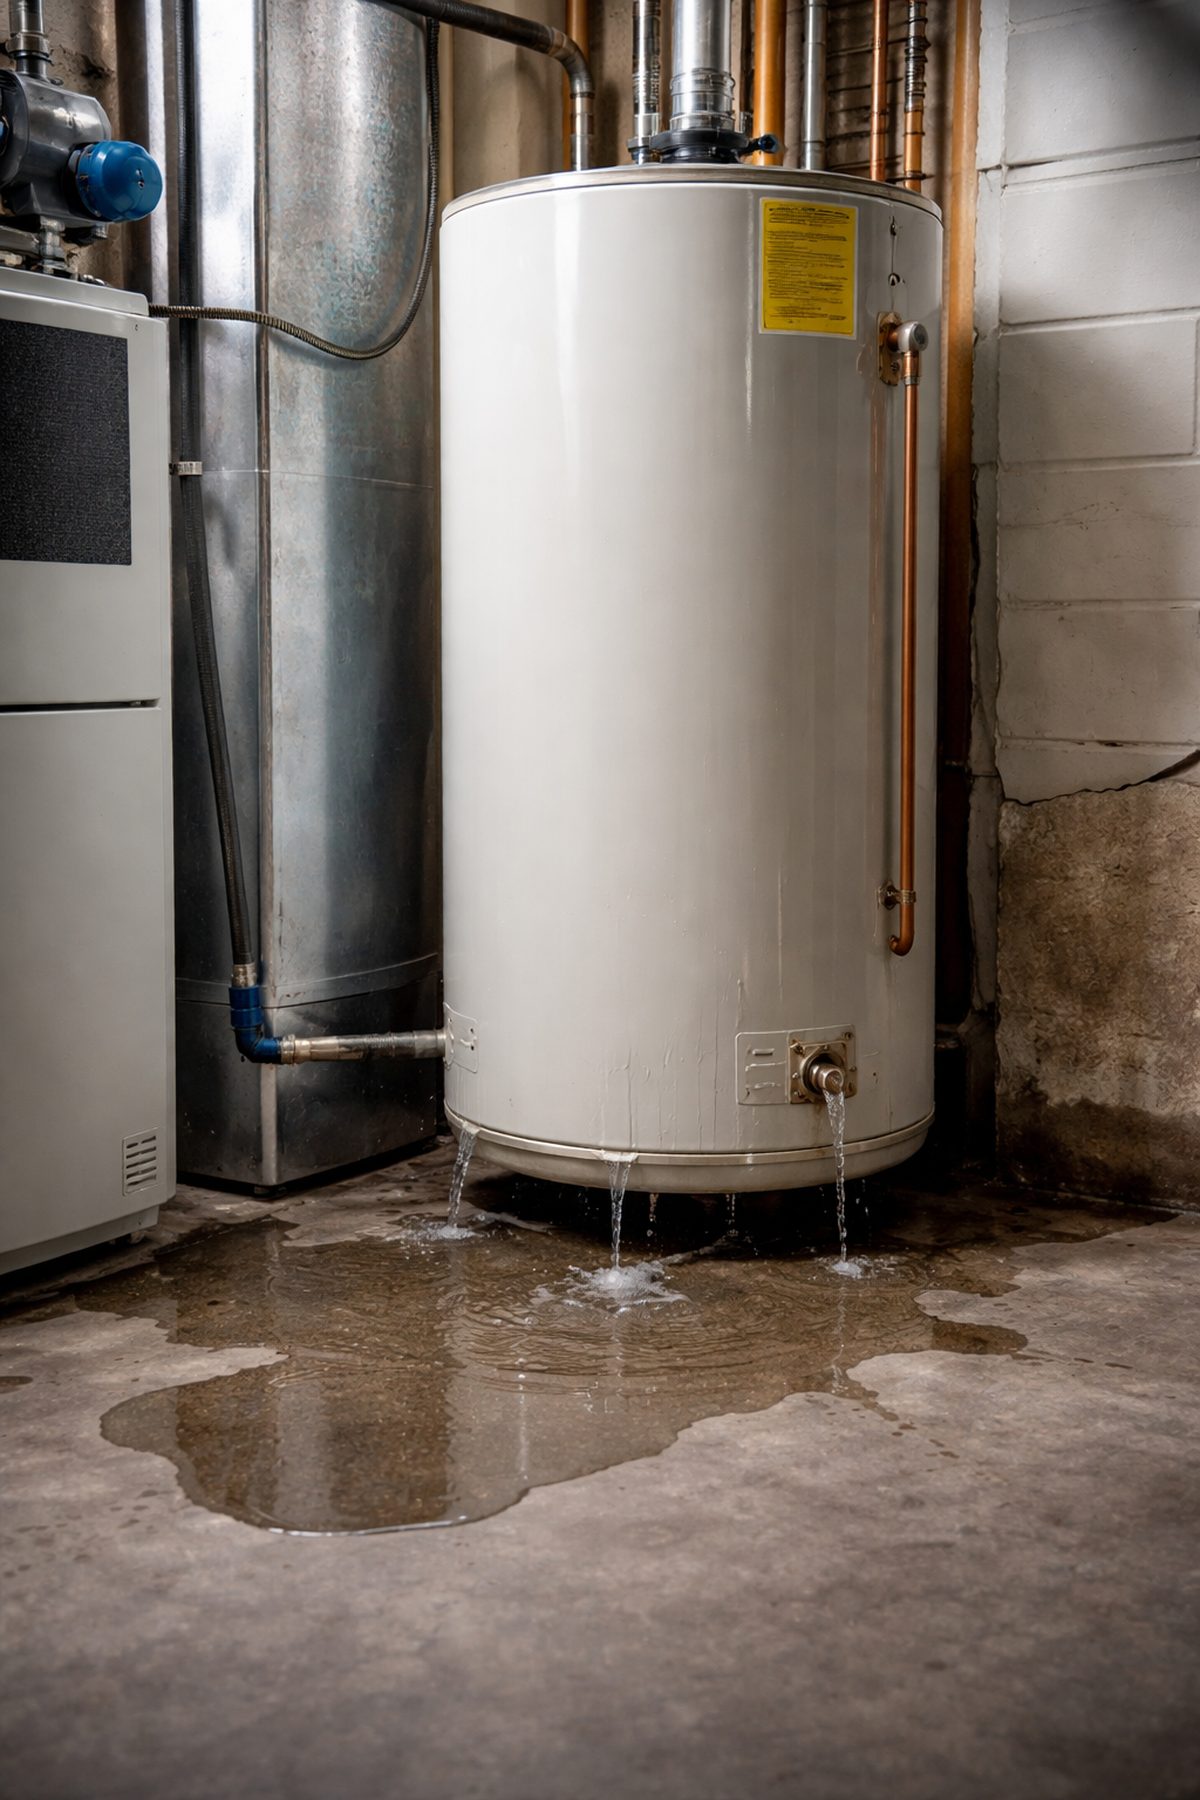
- Burst Pipes: Plumbing issues, such as frozen or leaking pipes, can result in water dripping down into your ceiling.
- Condensation and Humidity: Areas like bathrooms, kitchens, or basements may accumulate excess moisture, especially if there’s poor ventilation.
To properly repair drywall ceiling water damage, it’s crucial to address the water source first. If the leak isn’t fixed, the problem will likely return.
Step-by-Step Guide to Repairing a Drywall Ceiling with Water Damage
Step 1: Stop the Source of the Leak
The very first thing you need to do is stop the leak. If it’s a roof leak, a professional roofer can fix it for you. If the issue stems from pipes, a plumber will be needed. This step is essential because repairing the ceiling before fixing the leak will only result in repeated damage.
- Tip: If the water leak is extensive, use a tarp or bucket to temporarily catch any dripping water while waiting for the repair.
Step 2: Assess the Extent of the Damage
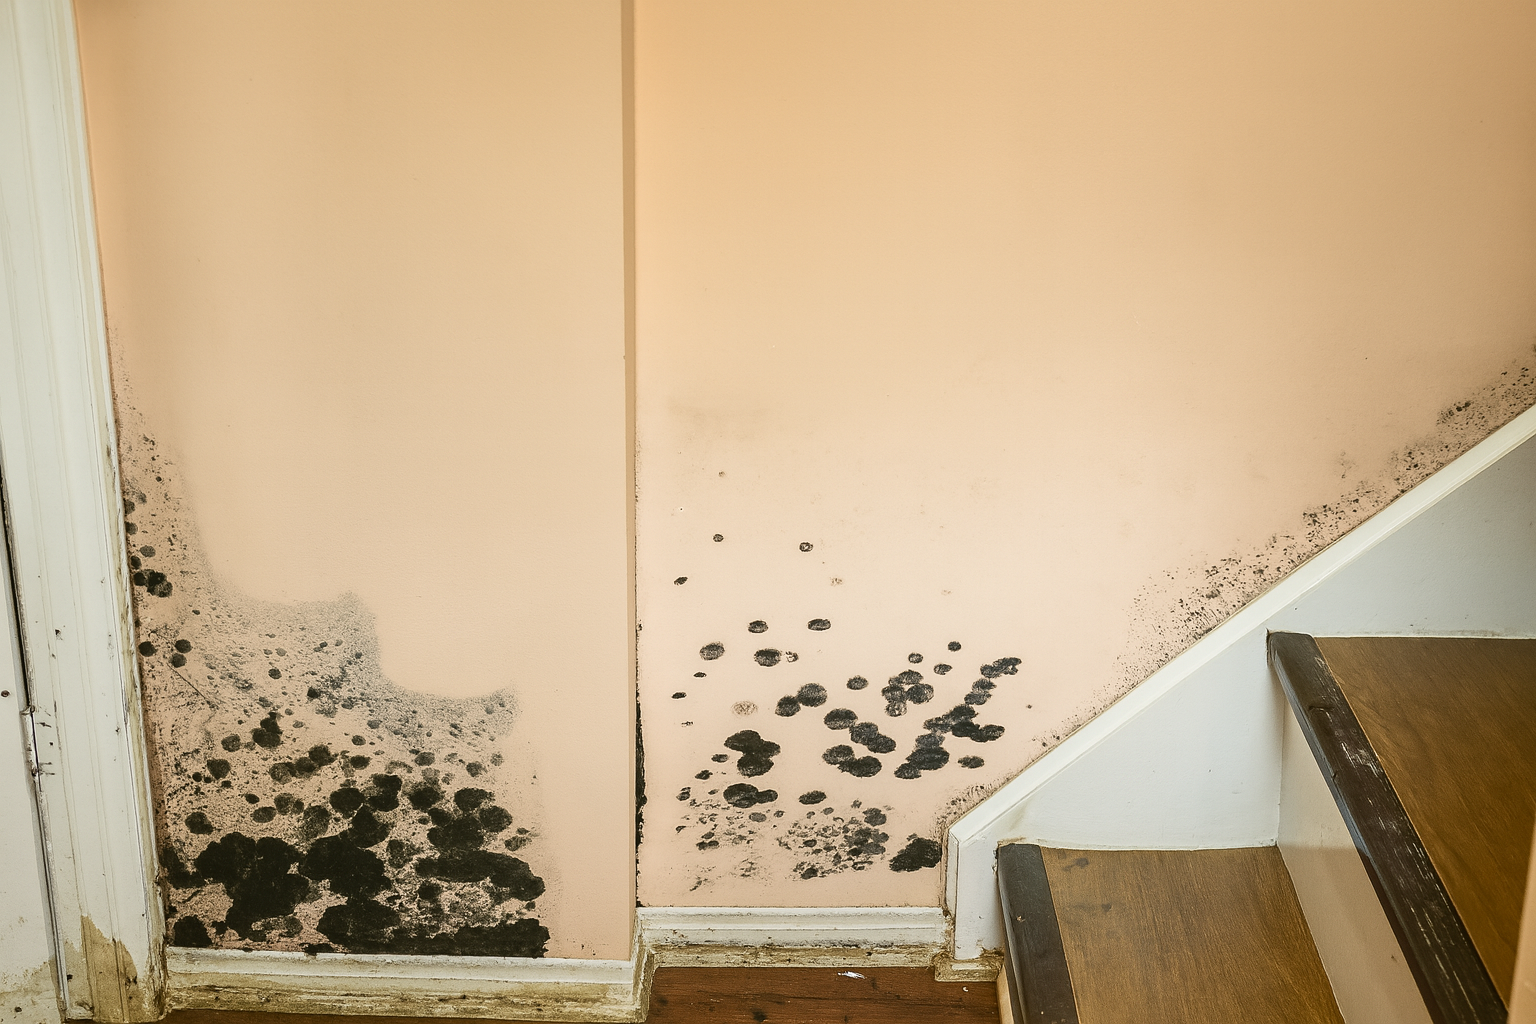
Once you’re sure the leak is fixed, it’s time to assess the extent of the water damage. Examine the drywall carefully for signs of sagging, discoloration, and mold growth. If the damage is localized, you may only need to patch a small section. But if the water has spread extensively across the ceiling, you might need to replace a larger portion of drywall.
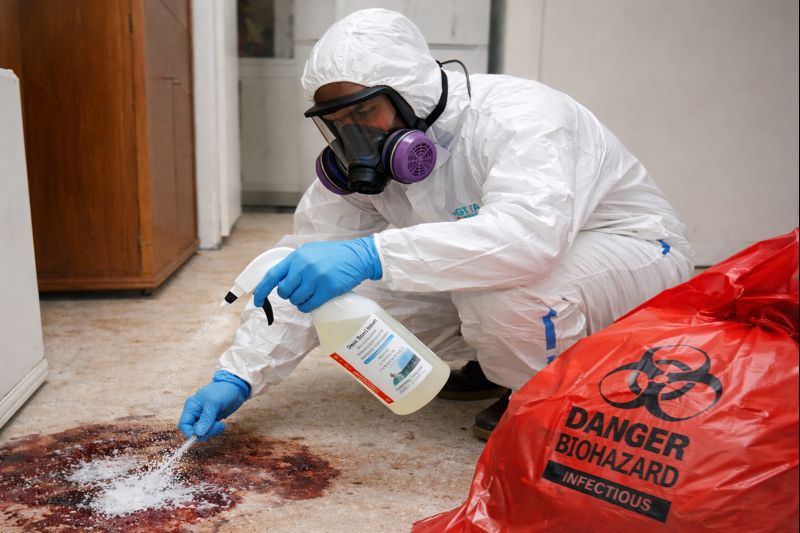
Pro Tip: If you notice mold, it’s crucial to address it before continuing with repairs. Mold can be harmful to your health, so don’t hesitate to reach out to professionals, especially if it’s widespread.
Step 3: Remove the Damaged Drywall
After assessing the damage, it’s time to remove the damaged drywall in Toronto. Use a utility knife to carefully cut around the affected area. If the drywall has completely softened or crumbled, remove it entirely. This will prevent further complications when you begin installing new drywall.
- Tip: Make sure to remove any wet insulation behind the drywall. Wet insulation can harbor mold and prevent a proper repair.
Step 4: Prepare the Ceiling Surface
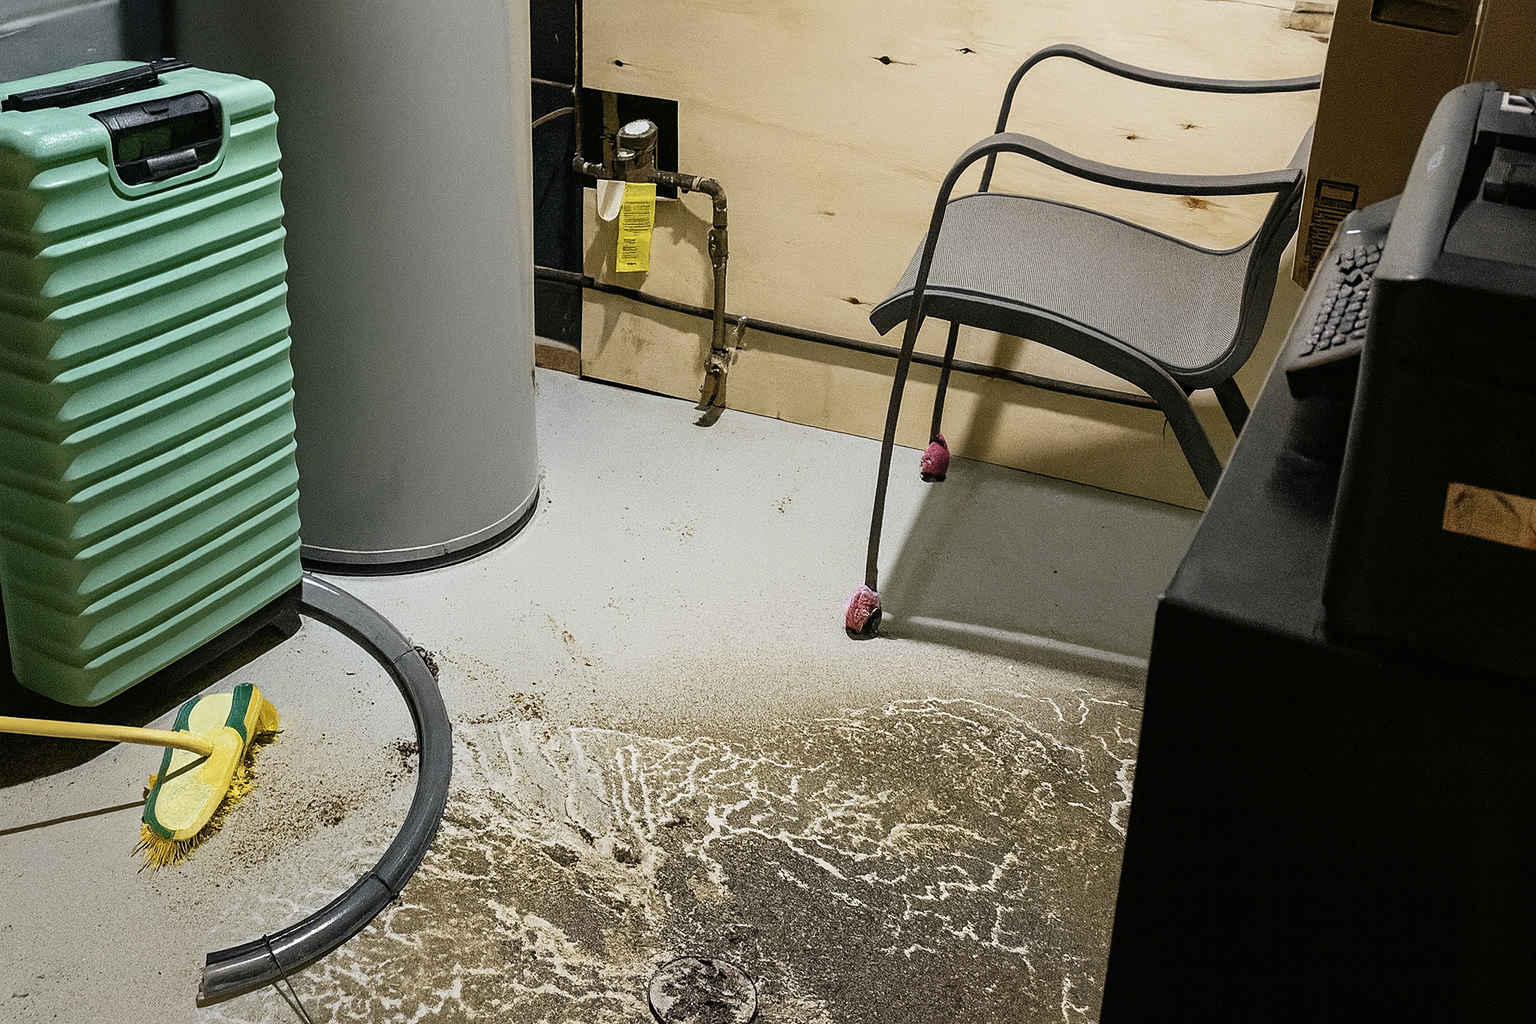
Once the damaged drywall is removed, prepare the surface for the new drywall installation. This includes checking for moisture behind the ceiling, as any lingering moisture can lead to mold growth. Use a fan or dehumidifier to dry out the space if necessary.
Additionally, check the ceiling’s structure (joists, beams) for damage. If you notice any signs of rot or deterioration, it’s important to repair or replace those parts before proceeding.
Step 5: Install New Drywall
Now, you’re ready to install the new drywall. Measure and cut the drywall to fit the removed area. Secure the drywall to the ceiling joists using drywall screws, ensuring it’s level and tightly attached.
- Tip: If you’re working in a larger area, consider using drywall adhesive in addition to screws to provide extra stability.
While repairing drywall ceiling water damage Mississauga may seem daunting for a beginner, following these steps can help you tackle the job like a pro. Just remember to address the source of the water, prepare the surface correctly, and install the drywall with care. If you’re in Toronto, Mississauga, Oakville, or Aurora, don’t hesitate to contact GTARestoration.ca if you need expert help. We’re here to ensure your ceiling repairs are done right the first time, leaving your home safe, dry, and beautiful!
Ready to get started? Call GTARestoration.ca today to schedule an inspection and get your ceiling repair project underway!