
Water damage to your ceiling is a common yet often overlooked issue. When left untreated, it can lead to more severe problems, including mold growth, structural weakening, and higher repair costs. Knowing the signs of water damage and how to repair a water damaged ceiling quickly can help you address the issue before it worsens. Whether you’re in Vaughan, Woodbridge, Markham, or Scarborough, taking swift action is crucial. In this blog, we’ll walk you through the signs you need to watch for and provide a step-by-step guide on repair water damaged ceiling plaster, drywall, or paper.
Common Signs of Water Damaged Ceilings
The first step in addressing water damage is identifying it early. Below are some common signs that your ceiling has been affected by water:
- Discoloration or Stains
Water damage often leaves behind visible stains, typically in the form of yellow, brown, or dark spots. If you notice any unusual discoloration, it’s a clear sign that water has infiltrated your ceiling. These stains usually start small but can grow over time, especially if the source of the leak isn’t addressed. - Peeling or Bubbling Paint
When moisture gets behind the paint on your ceiling, it can cause the paint to bubble, peel, or crack. If you see these signs, it indicates that the ceiling has absorbed water, and the integrity of the paint is compromised. - Sagging Ceiling
One of the more severe signs of water damage is a sagging ceiling. If the ceiling appears to be drooping, it’s likely that water has accumulated in the materials, causing them to weaken. This can be dangerous, especially if the water damage has been ongoing for a while. - Mold or Mildew Growth
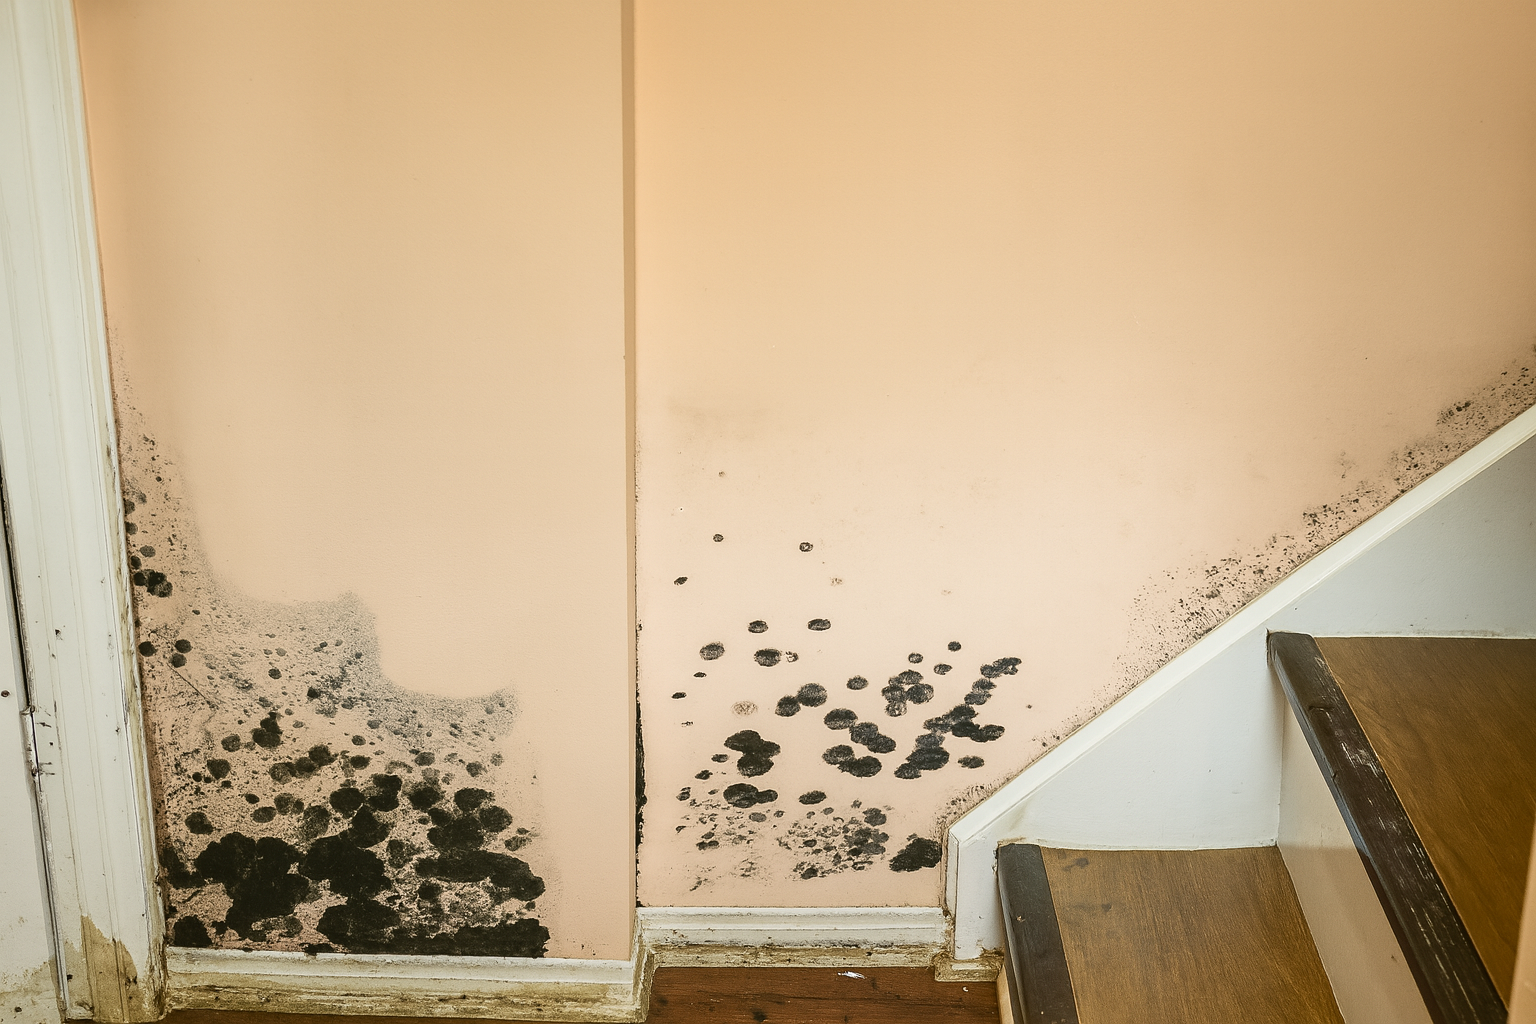
Excess moisture creates the perfect breeding ground for mold and mildew. If you notice a musty smell or see green or black spots on your ceiling, mold may be present. Mold not only damages your ceiling but can also pose serious health risks, making prompt repairs even more essential. - Dripping Water or Wet Spots
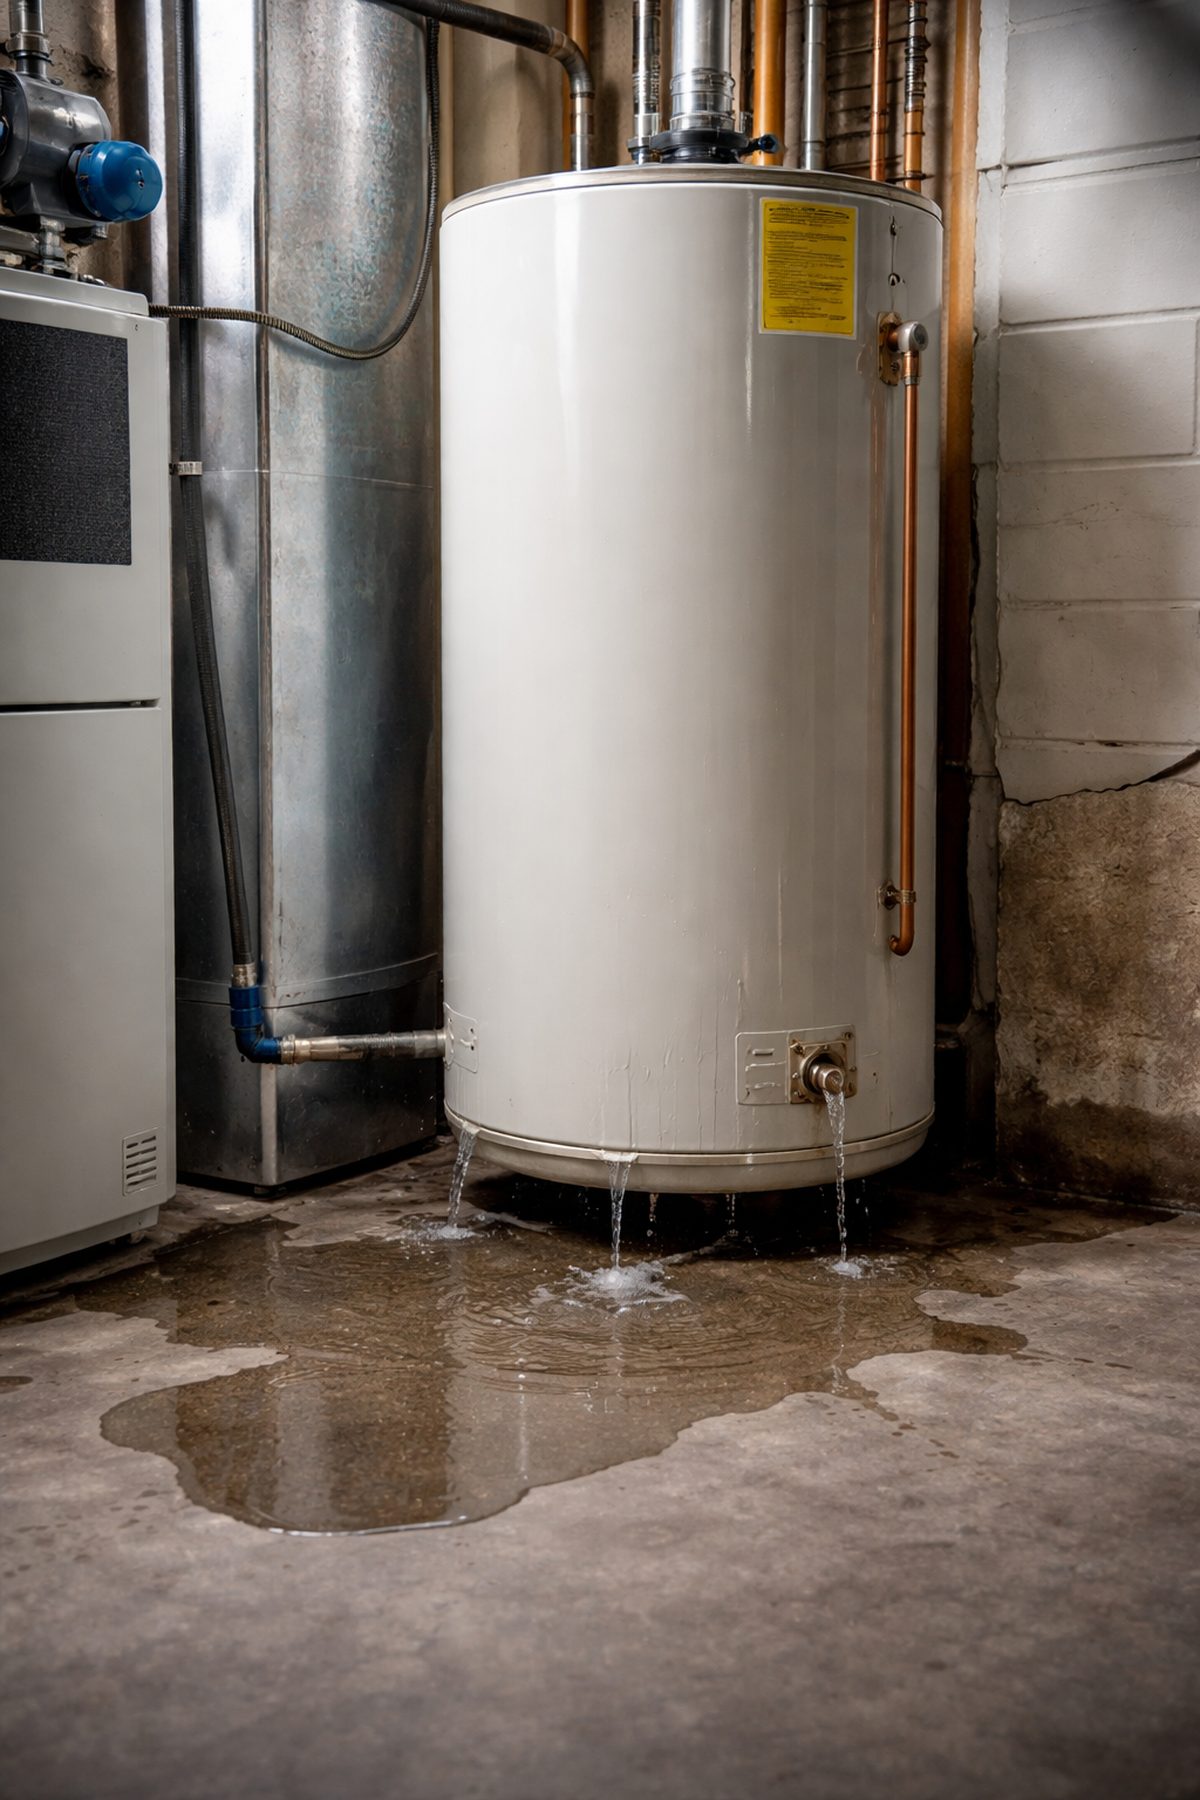
If you spot water dripping from the ceiling or notice wet patches, it’s a clear indication of an active leak. This needs immediate attention to prevent further damage and costly repairs.
How to Repair a Water Damaged Ceiling
Once you’ve identified water damage, it’s time to take action. Repairing a water damaged ceiling Vaughan depends on the type of material it is made from. Whether it’s plaster, drywall, or paper, the repair process will vary slightly. Here’s a guide on how to repair a water damaged ceiling:
1. How to Repair Water Damaged Ceiling Plaster
Plaster ceilings are common in older homes and require a bit more care to repair.
- Step 1: Identify the Source of the Leak
Before repairing plaster, it’s crucial to fix the source of the leak. This may involve repairing pipes, replacing a leaky roof, or sealing areas around windows. If you skip this step, you risk recurring water damage. - Step 2: Remove Damaged Plaster
If the plaster is severely damaged, you may need to remove the affected section. Use a utility knife to cut away the soft, damp plaster. Be sure to remove any moldy or wet materials. - Step 3: Apply Plaster Patching Compound
Once the damaged area is cleared, apply a plaster patching compound to fill in the holes and smooth out the surface. Use a trowel to spread the compound evenly and allow it to dry. - Step 4: Sand and Finish
After the compound has dried, sand the surface smooth. You can then repaint the ceiling to restore its original appearance.
2. How to Repair Water Damaged Ceiling Paper
If your ceiling is covered with paper (such as wallpaper or a paper-based surface), repairing the water damage ceiling Woodbridge is straightforward but requires some precision.
- Step 1: Remove the Wet Wallpaper
Carefully peel off any wet or peeling wallpaper, taking care not to tear the paper backing. This is especially important if you’re dealing with delicate wallpaper that can easily rip. - Step 2: Dry the Ceiling
Use a fan or a dehumidifier to dry out the ceiling before proceeding with any repairs. Allow at least 24-48 hours for the area to dry completely. - Step 3: Apply New Wallpaper or Paint
Once the ceiling is dry, you can either replace the wallpaper or apply a new coat of paint. Be sure to choose a mold-resistant wallpaper paste or paint to prevent future issues.
3. How to Repair Water Damaged Ceiling Drywall
Drywall is one of the most common Water Damaged ceiling Markham materials and is relatively easy to repair.
- Step 1: Identify the Leak
As with all ceiling repairs, the first step is to locate and fix the source of the leak. If there’s still moisture coming in, the problem will persist, even after repairs. - Step 2: Remove the Damaged Drywall
Use a utility knife to cut out the damaged drywall. Make sure to remove all sections that are wet, sagging, or discolored. - Step 3: Install New Drywall
Once the damaged drywall is removed, measure and cut a piece of new drywall to fit the space. Secure it in place with drywall screws. - Step 4: Mud and Tape the Seams
Apply drywall joint compound to the seams, and use drywall tape to reinforce the joint. Once the compound has dried, sand it smooth and apply additional layers as necessary. - Step 5: Paint the Ceiling
After the compound has dried and been sanded, prime and paint the new drywall to match the rest of your ceiling.
How to Fix Water Damage Fast in Vaughan, Woodbridge, Markham, and Scarborough
For residents in Vaughan, Woodbridge, Markham, and Scarborough, addressing water damage quickly is essential to preventing further complications. Repairing water damaged ceiling Scarborough yourself can be a manageable task if you follow the proper steps. However, if you’re unsure or dealing with extensive damage, it’s best to consult professionals.
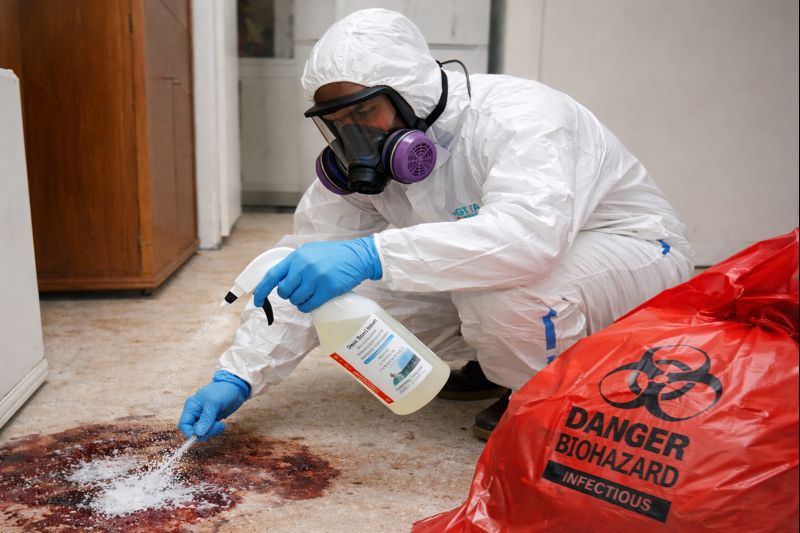
GTARestoration.ca offers expert mold remediation and water damage restoration services in Vaughan, Woodbridge, Markham, and Scarborough. Their team has the knowledge and experience to assess the damage, identify the source of the leak, and perform repairs safely and efficiently. Whether you need to repair water damaged ceiling plaster, drywall, or paper, GTARestoration.ca is equipped to handle it all.
Conclusion
Water damage to your ceiling can be a serious issue, but with early detection and the right approach, you can restore your ceiling to its original condition. Whether you need to repair water damaged ceiling drywall, plaster, or paper, understanding the process and acting quickly is key to avoiding more significant problems. If you’re in Vaughan, Woodbridge, Markham, or Scarborough and need help, don’t hesitate to contact GTARestoration.ca for professional repair services.